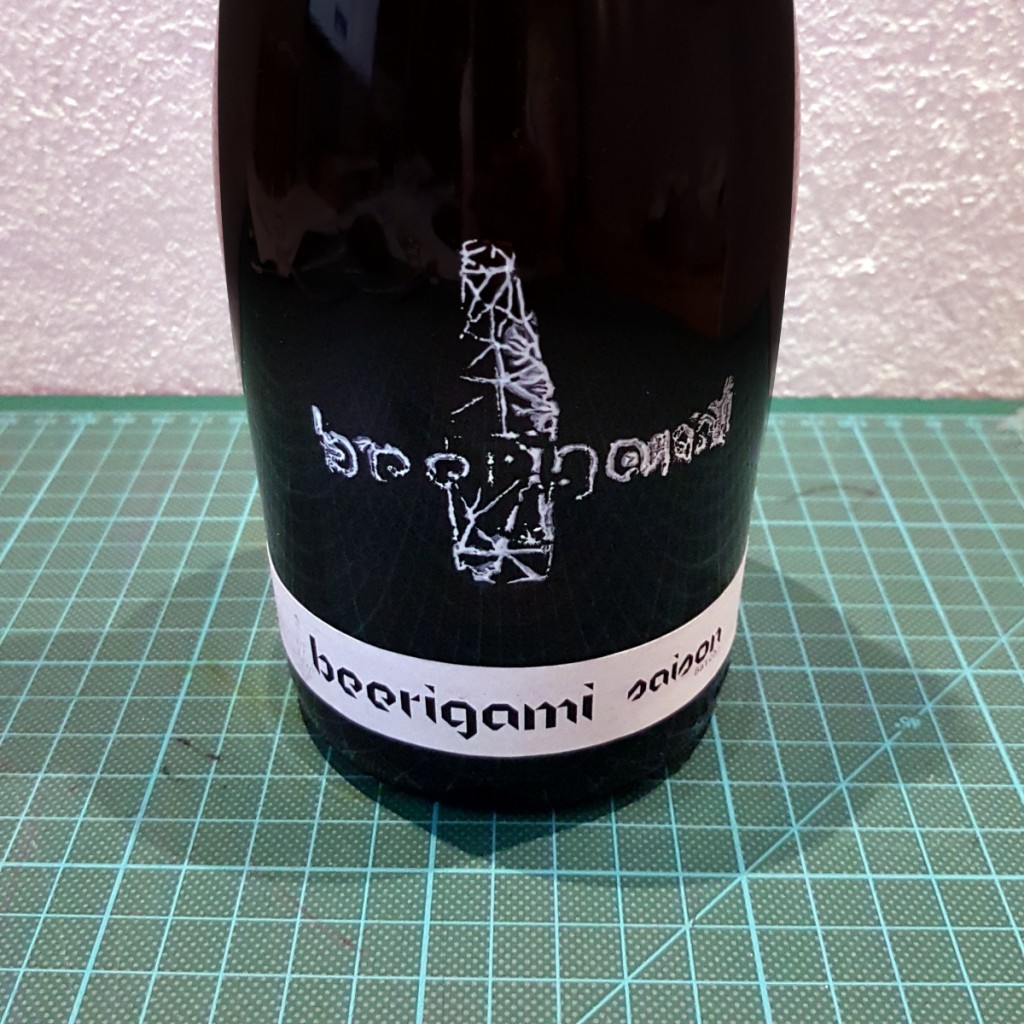
I decided to try stamping my design on the bottles. In the DIY-community there is a lot of people making stamps by carving in rubber (for example an big eraser). But since my logo is fairly complicated that wasn’t possible. So i tried a different approach. First I engraved my design on a sheet of plastic (Borrowed a machine that was used to make signs and engrave sport medals).

I made walls around my engraved design and got a muld where I poured liquid latex used for casting plaster figurines.


When it had hardened I glued it on a piece of wood. The final result wasn’t especially good. One reason was that the bottles was old Prosecco bottles that has a oval shape. I had to move the stamp in two directions when I applied the print and that made the result fuzzy. This method may work better with a simpler logo or on bottles with a simpler shape.
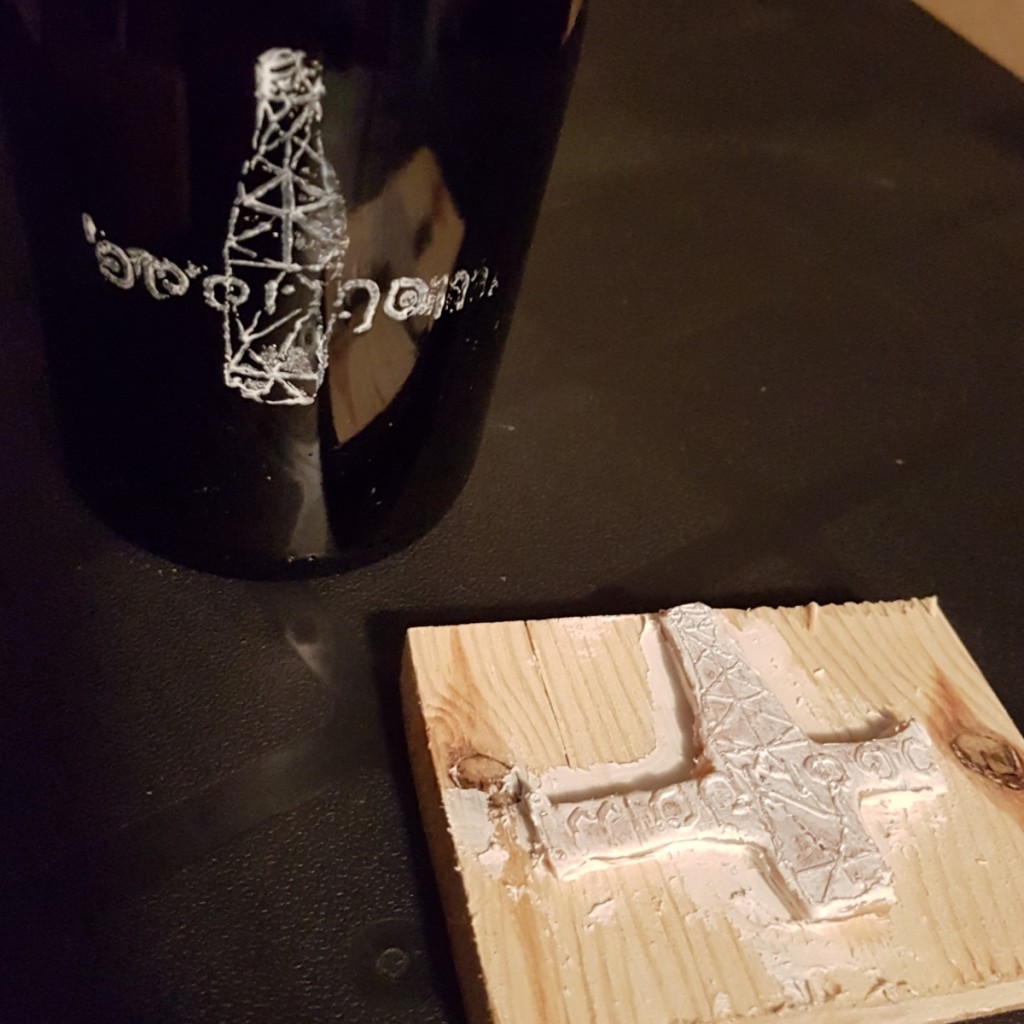
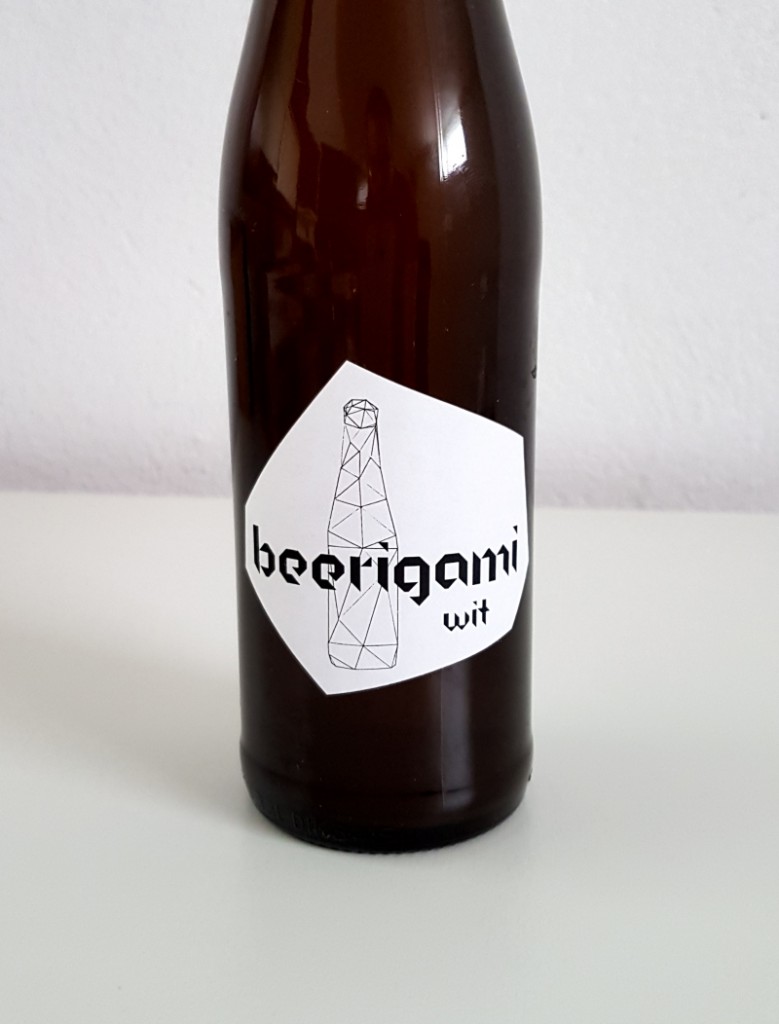
The intent was to make a printed logo that I could reuse and with that a simple paper label that was beer specific and easily replaced. The unsatisfactory result makes me consider screen printing in the future. But if you have a more simple logo, do try the carved eraser method discussed above.
